Quick setup: takes about 3 minutes
Follow the steps below to set up Smart DNS on your Fire TV.
DNS address to enter:
146.59.198.179
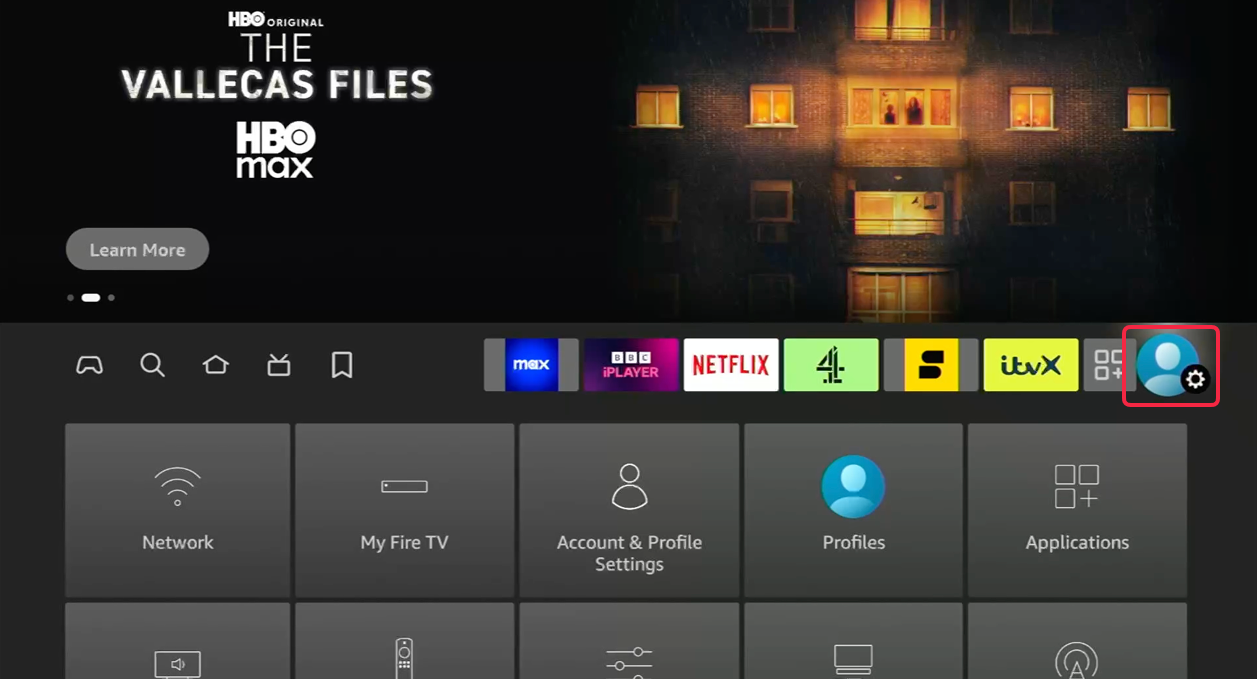
From the Fire TV home screen, go to Settings.
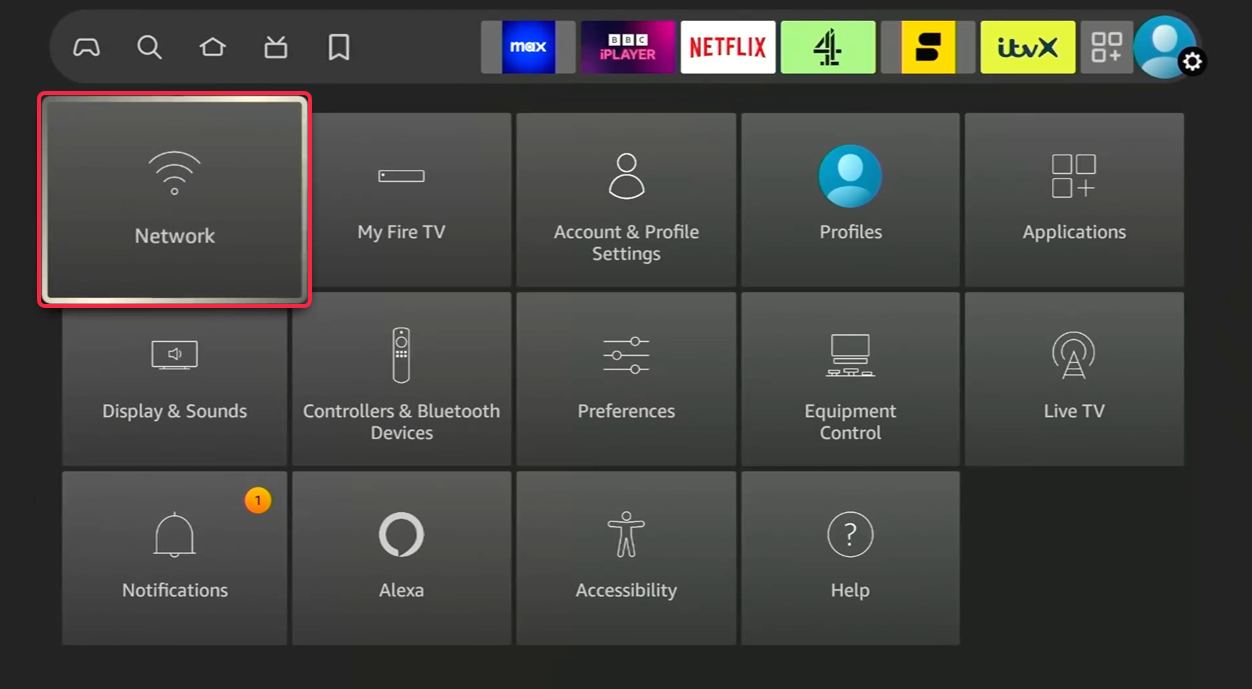
Select Network.
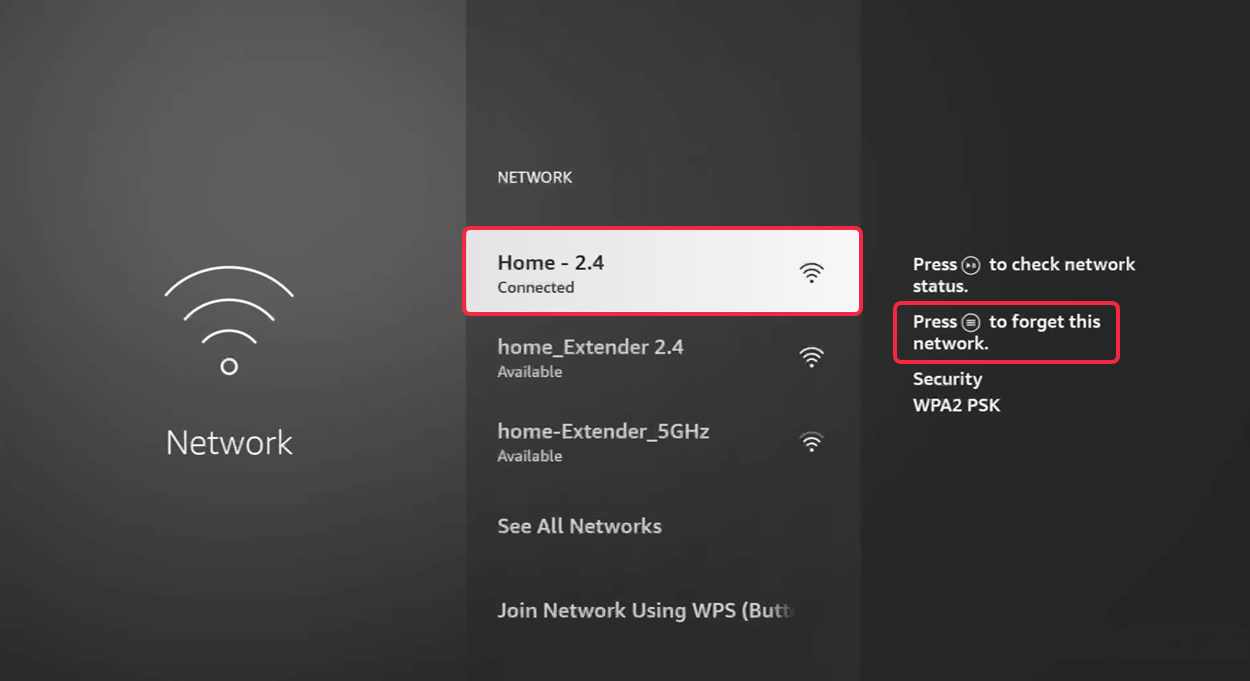
Highlight your currently connected Wi-Fi network.
Press the Menu button (☰) on your remote.
Select Forget.
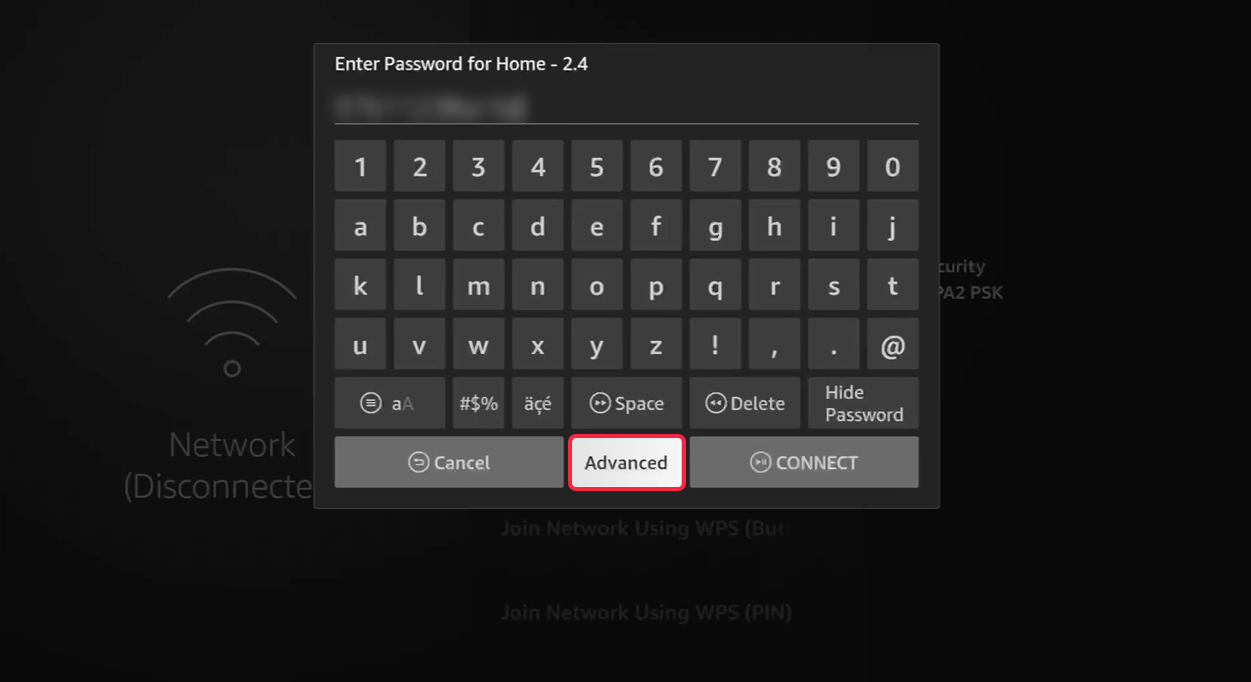
Now select the same Wi-Fi network again and enter your password. Do not press CONNECT, instead press Advanced.
Here starts the tricky part. You need to enter your Wi-Fi network credentials. They are usually written on the back side of the router, unless you (or your roommates) have changed them manually.
Enter your router's IP address (default often is 192.168.0.1). Press Next.

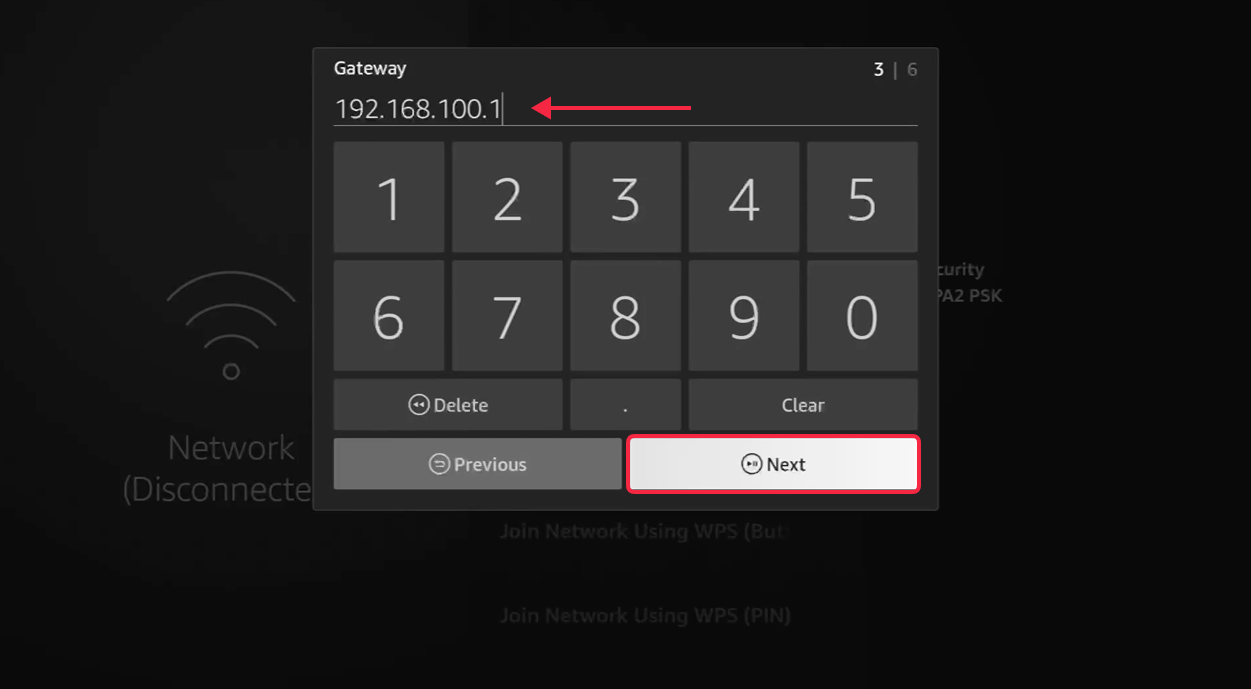
Enter your Gateway (default is 192.168.1.1). Press Next.
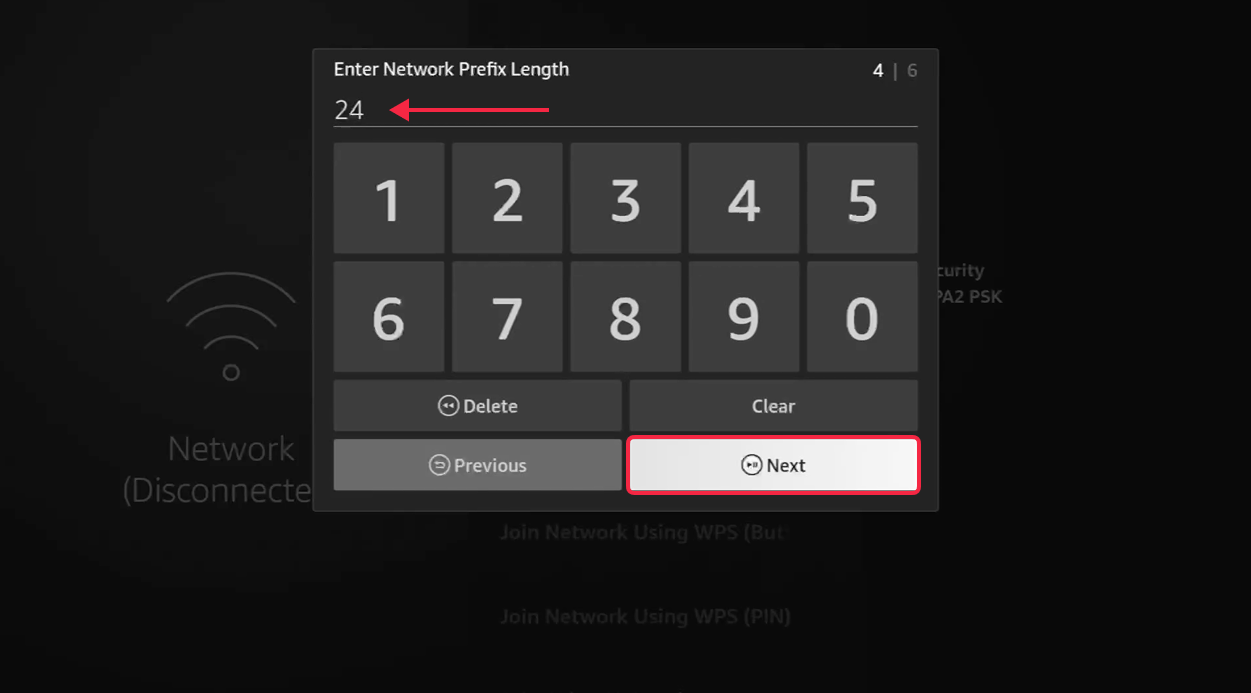
Enter the Prefix Length (default is 24). Press Next.
Enter Primary DNS - 146.59.198.179. Press Next.

Enter Secondary DNS - 51.222.14.92. Press CONNECT.

That's it, LivingAbroad.tv's Smart DNS is now configured for your network connection.
It's best to go to Settings → My Fire TV → Restart. Then wait for the device to reboot to ensure the DNS cache is cleared and the settings took place.