Quick setup: takes about 3 minutes
Follow the steps below to set up Smart DNS on your Windows 11 device.
DNS address to enter:
146.59.198.179
-
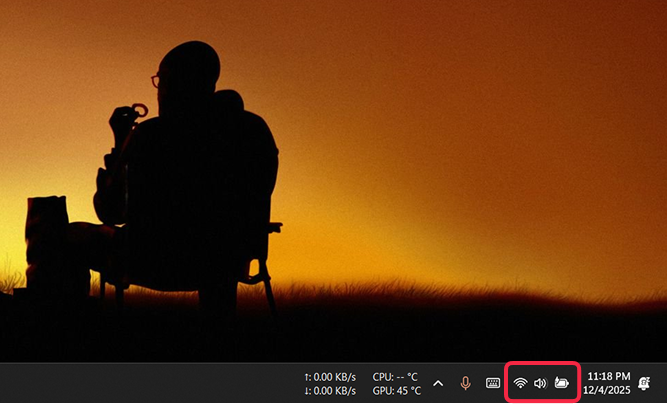
Click on the Wi-Fi symbol at the bottom right of your desktop screen.
-
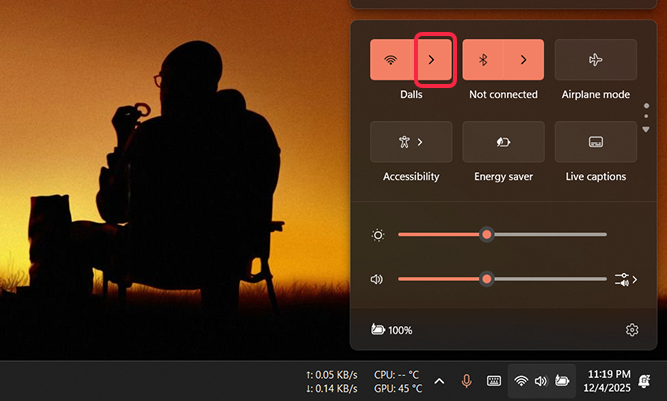
In the opened window click on the > (right arrow) next to the Wi-Fi symbol.
-
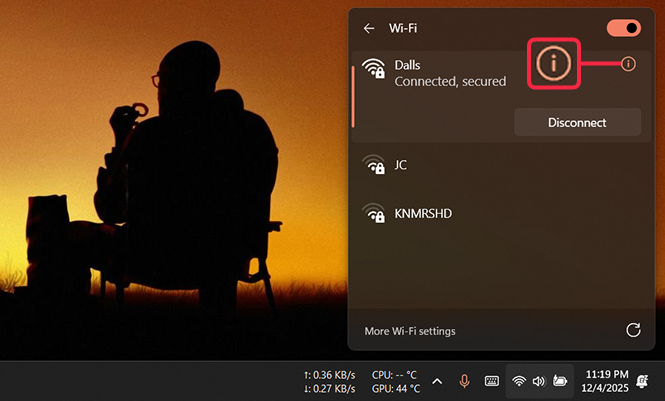
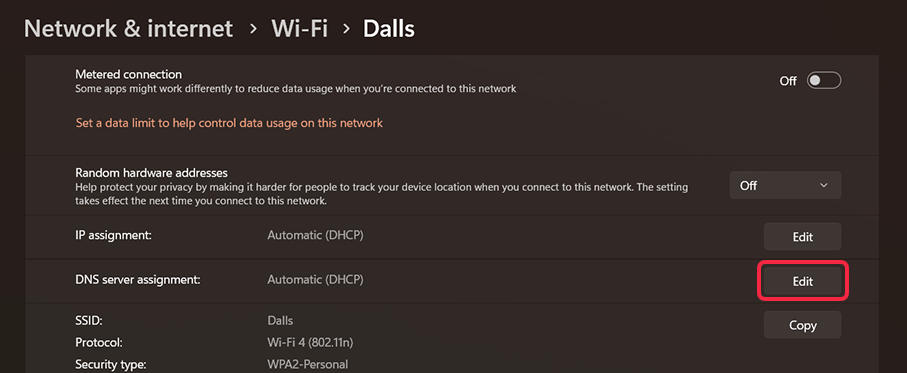
Click the ⓘ (info) at the top right of the active network.
-
Click Edit corresponding to DNS server assignment.
-
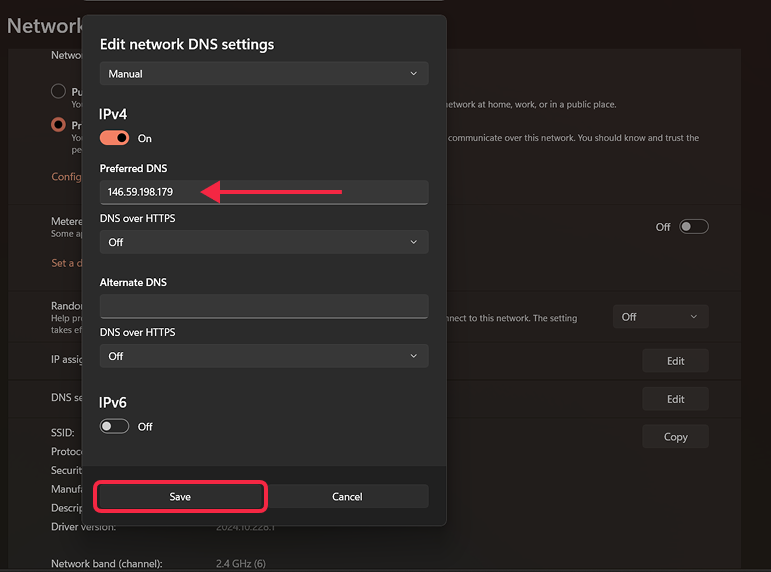
In Edit network DNS settings window:
- change the first dropdown from Automatic to Manual
- turn Off IPv6 (if it was On)
- ensure IPv4 is On
- click on Preferred DNS field and enter
146.59.198.179.
-
Click Save.
-
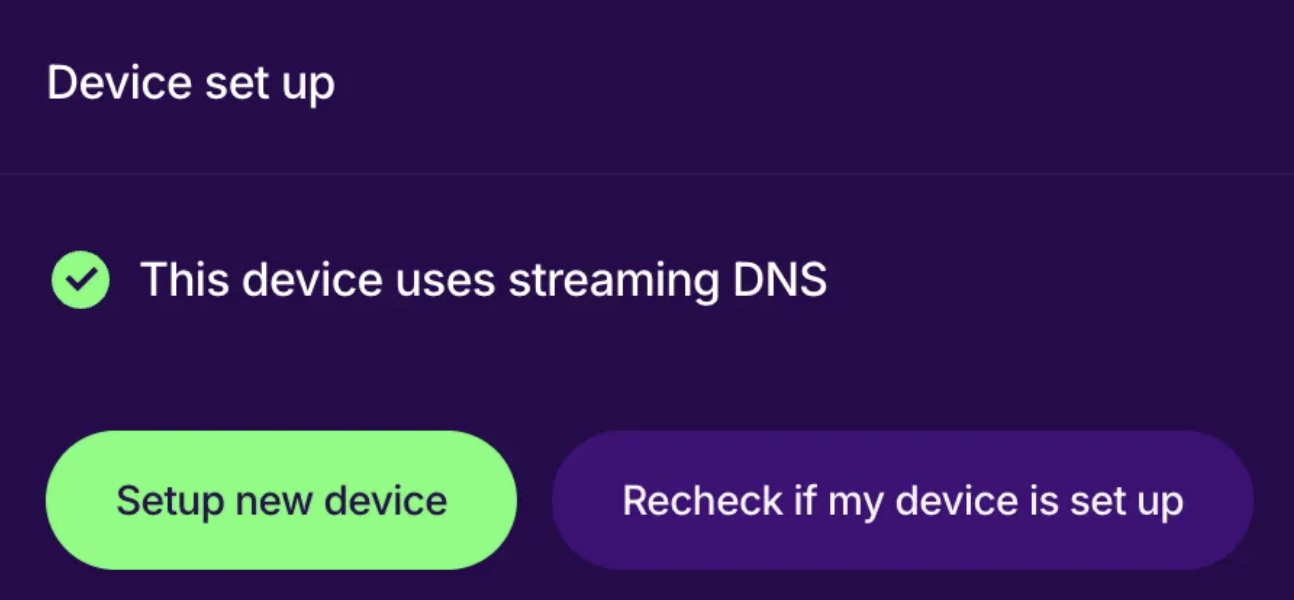
Done! Open your account page to verify Smart DNS is active.