Quick setup: takes about 3 minutes
Follow the steps below to set up Smart DNS on your Mac.
DNS address to enter:
146.59.198.179
Manual setup
-
Click Apple menu () in the top left, then choose System Settings…
-
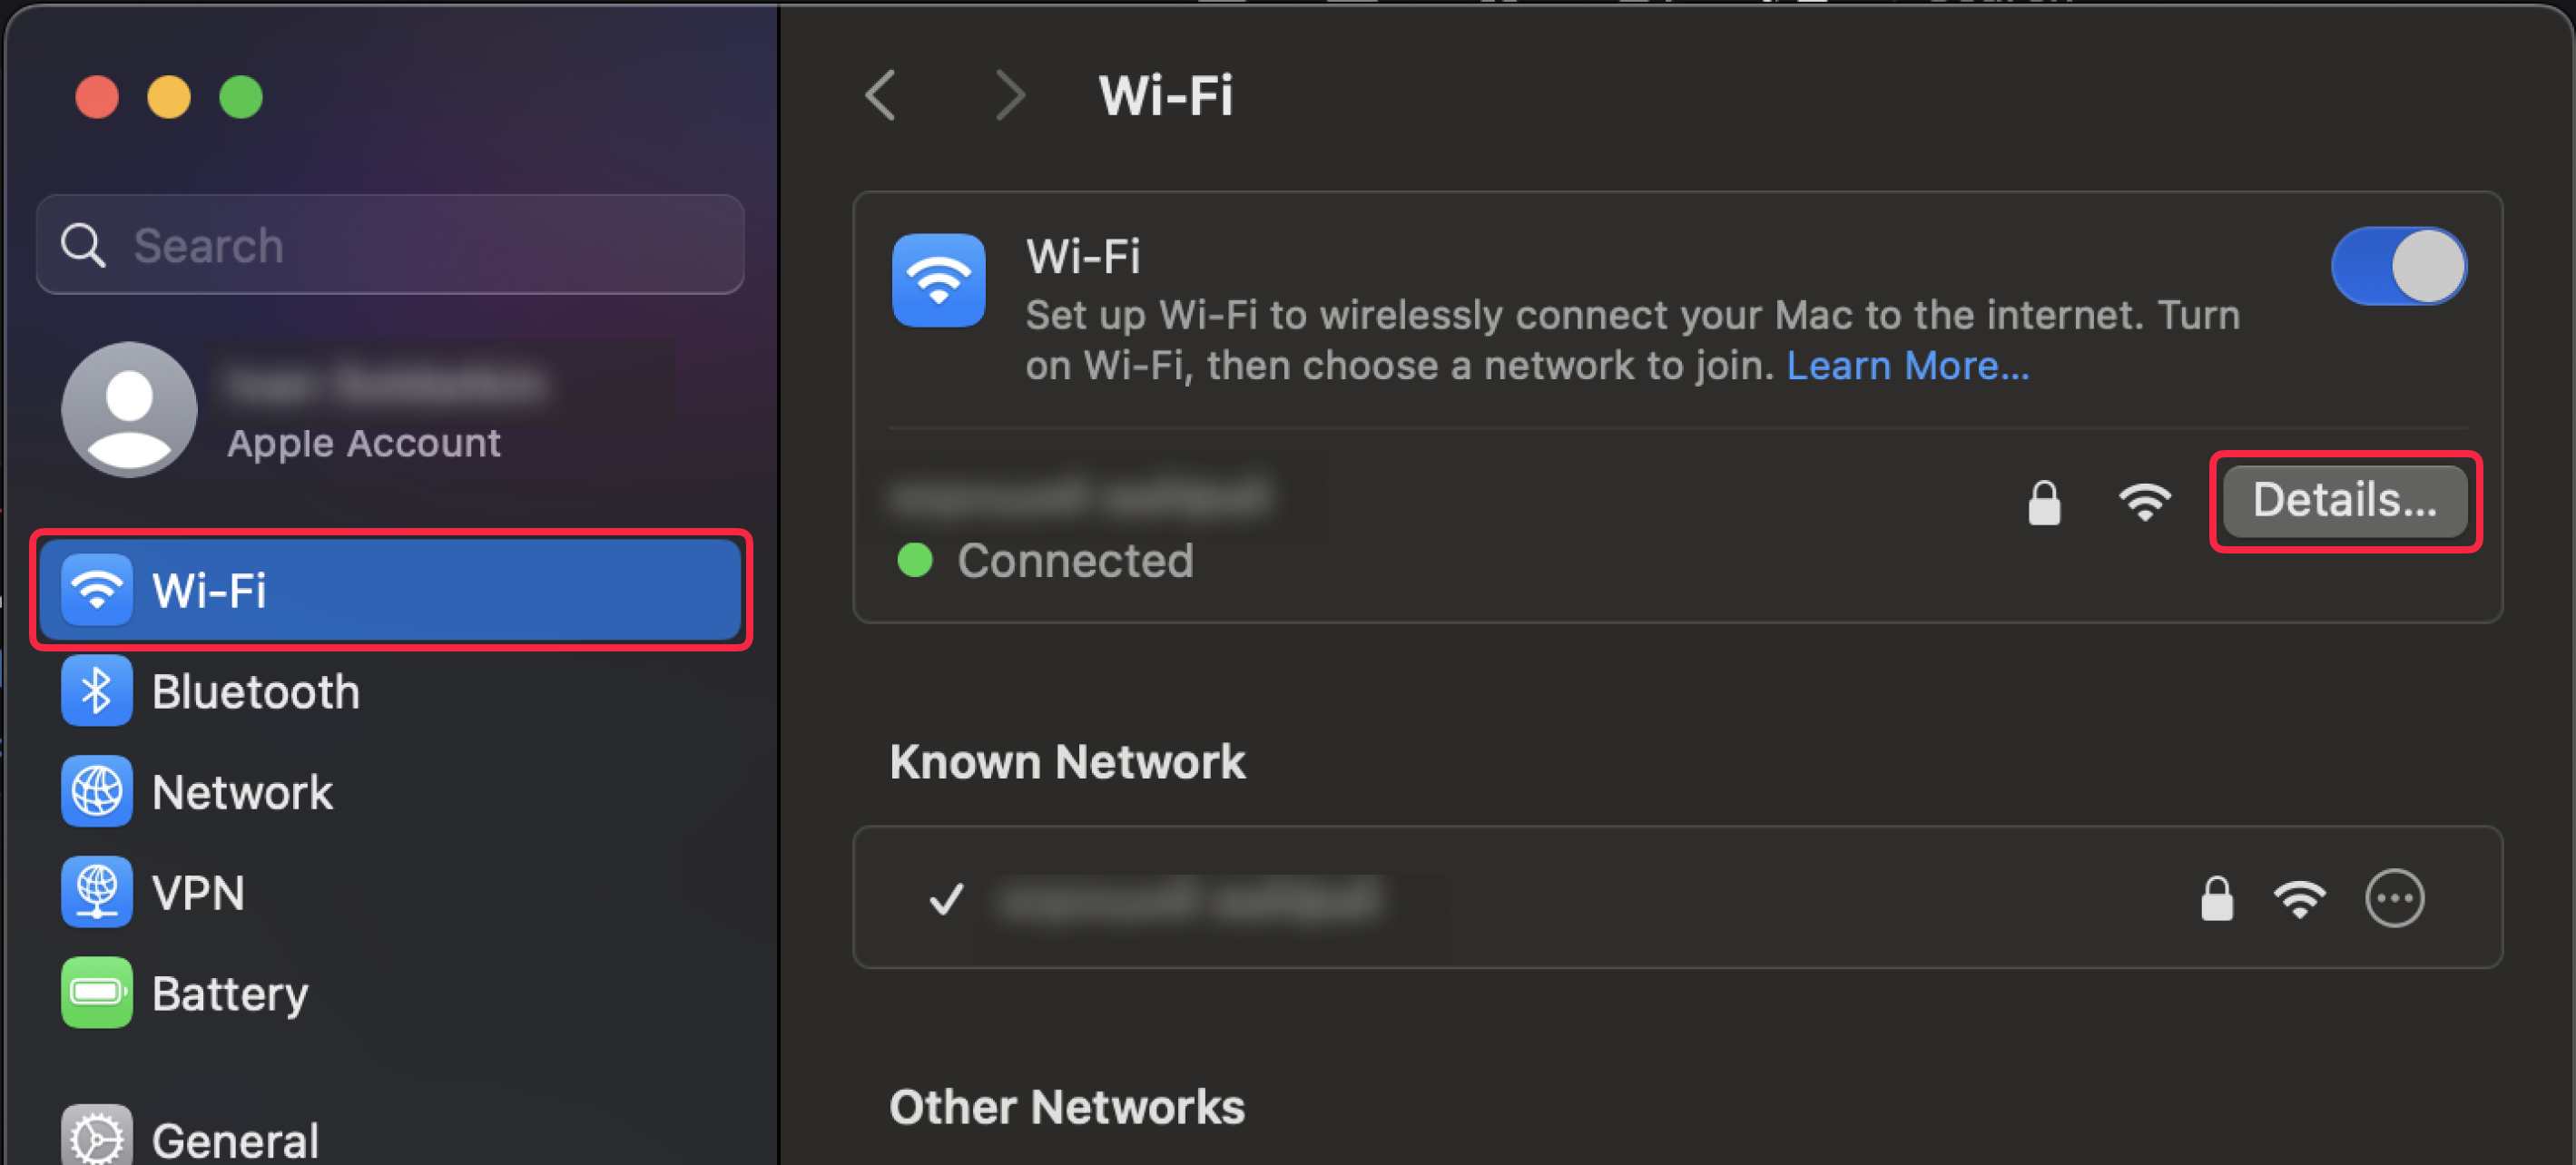
In the left sidebar, click Wi-Fi.
-
Click the Details… button next to the selected network.
-
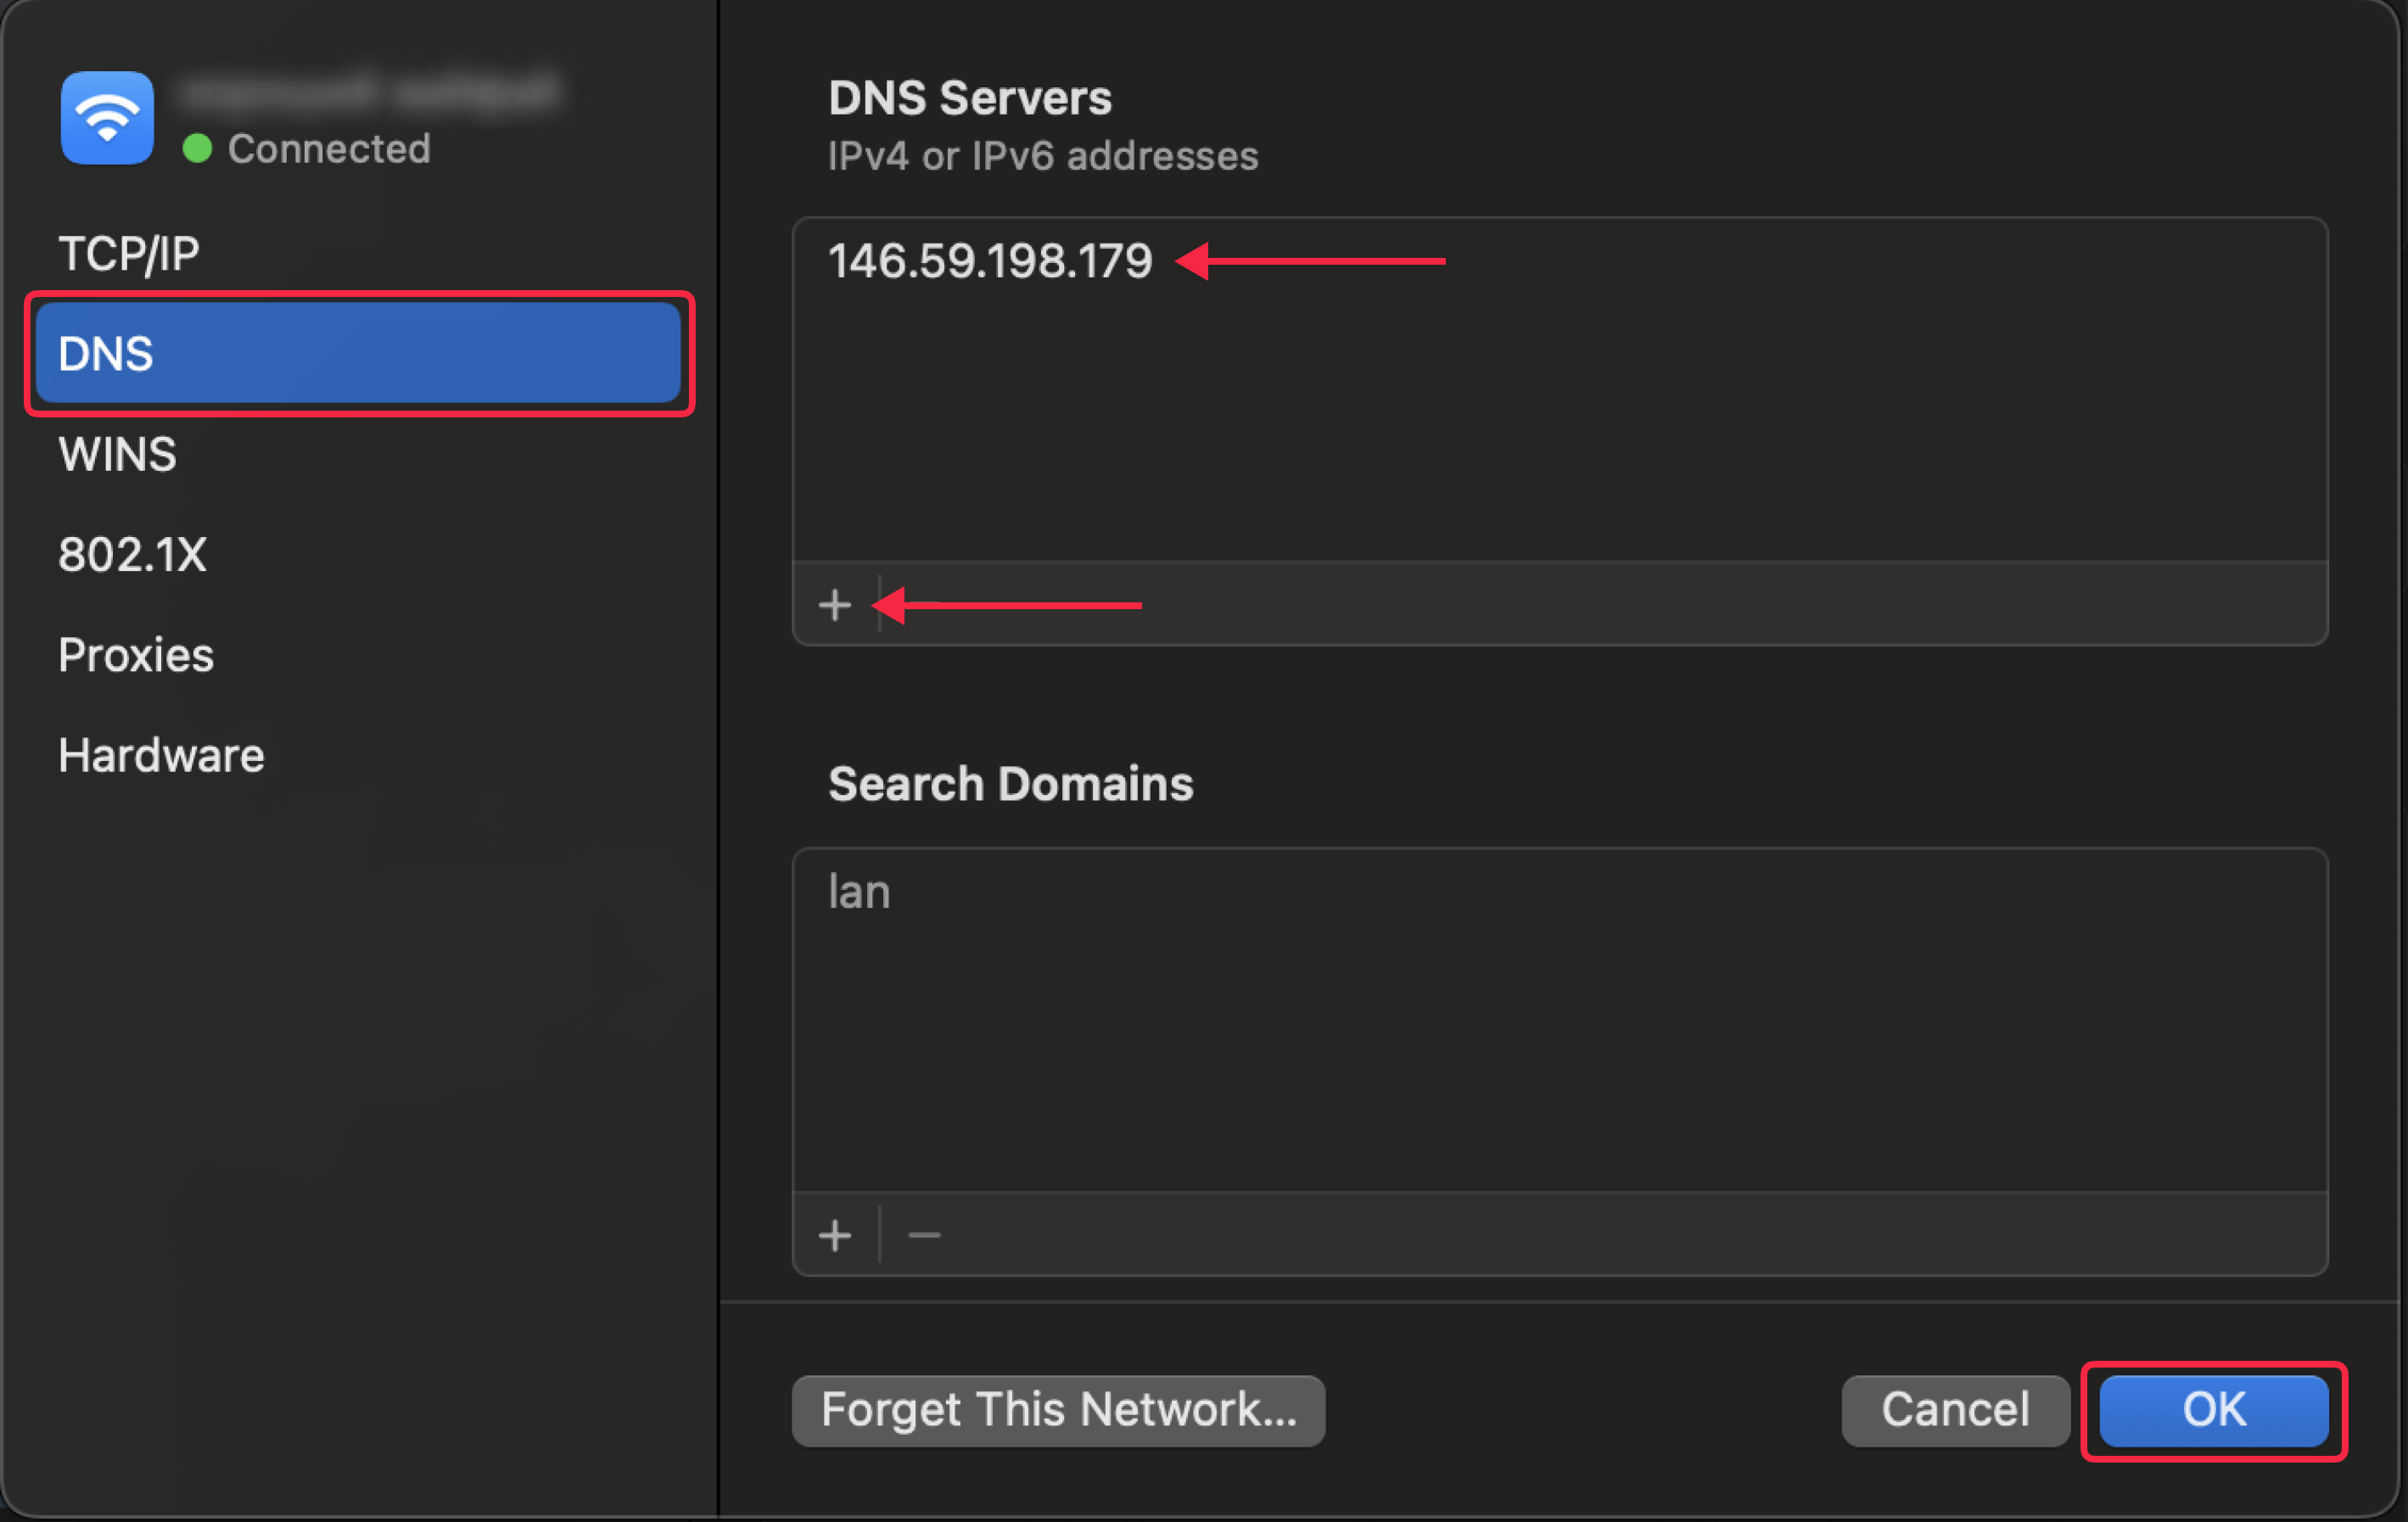
In the window that opens, click the DNS tab.
-
Under DNS Servers, remove any existing entries using the – (minus) button.
- Click the + (plus) button and enter
146.59.198.179 -
Click OK.
-
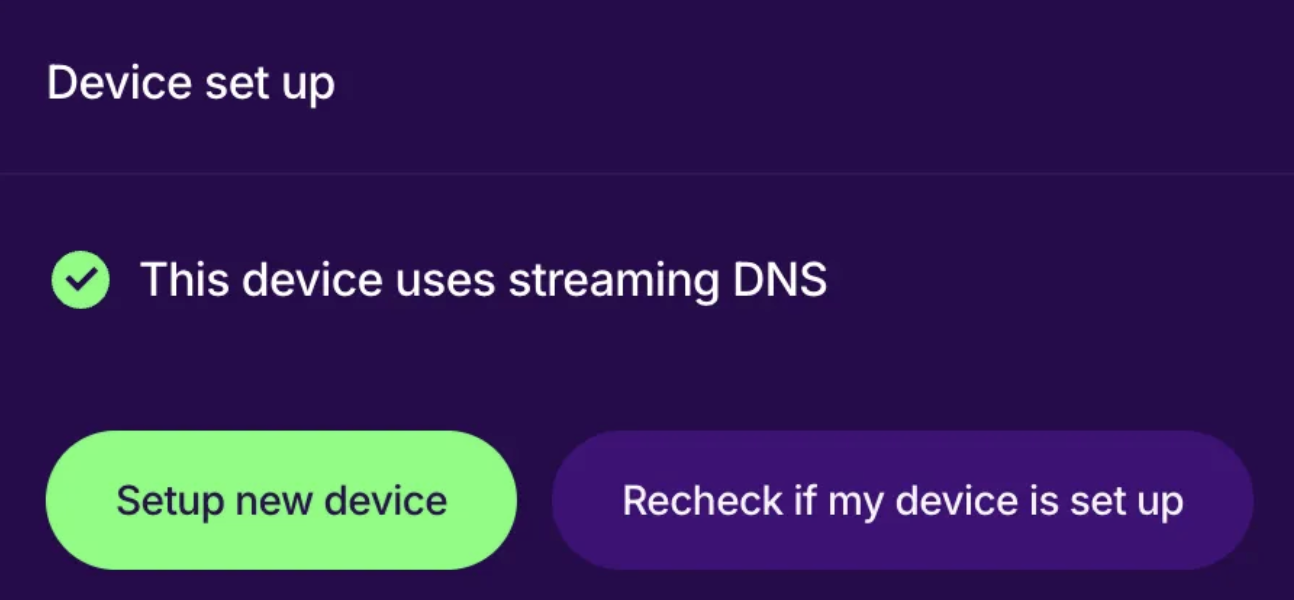
Done! Open your account page to verify Smart DNS is active.
Configuration profile (only works on macOS 15 and below)
-
Download the LivingAbroad.tv config file using this link:
-
Open the downloaded file. You should see this notification pop up:

-
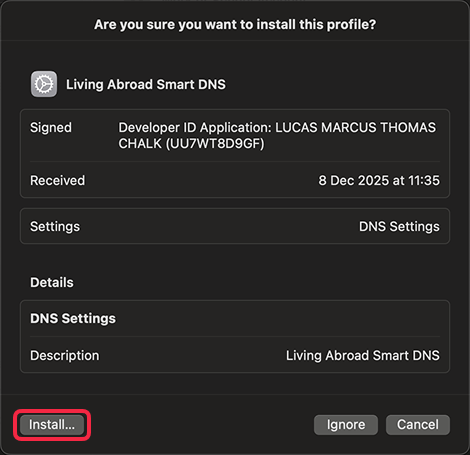
Open System Settings → click Profile Downloaded.

- A confirmation pop up will open, click Install… at the bottom left.
-
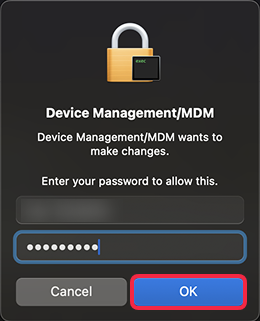
Upon request enter your macOS user password and click OK.
-
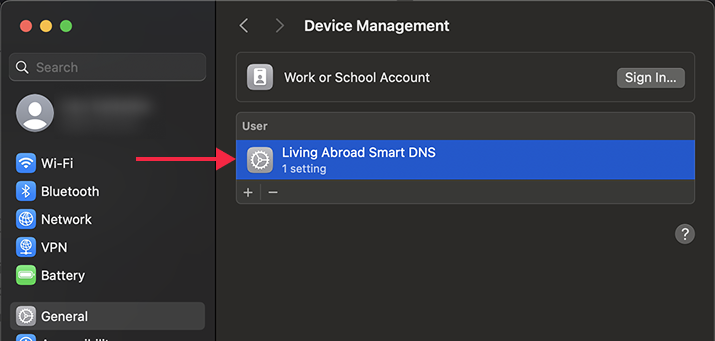
You can confirm the profile has been set up successfully by seeing it under General → Device Management.
-
Done! Open your account page to verify Smart DNS is active.

If you've followed all the steps but Smart DNS still isn't active on your Account page please refer this troubleshooting guide.